
Welcome to the ultimate masterclass in portrait optics. As creators in the fast-paced fashion, lifestyle, and visual arts industries across Sri Lanka, we know that a striking portrait is defined not just by the subject, but by the emotional atmosphere carved out by the background. In professional portrait and editorial photography, separating your subject from a distracting environment is the hallmark of high-end commercial imagery. At the heart of this separation lies the magical interplay between aperture, depth of field, and that coveted, buttery-smooth blur known as bokeh.
Whether you are shooting high-fashion editorials on the bustling streets of Colombo or intimate bridal portraits against the serene backdrop of the southern coastline, mastering your lens settings is non-negotiable. For a broader foundational understanding of camera mechanics, we recommend exploring our comprehensive Photography A-Z Educational Guides.
1. Core Technical Concepts: Demystifying the Optics
To truly command your camera, you must understand the physical mechanisms driving your exposure and focus. Let's break down the technical pillars of portrait separation.
Understanding Aperture and F-Stops
The aperture is the physical opening inside your camera lens through which light travels to reach the sensor. It operates much like the iris of the human eye—expanding in low light and contracting in bright environments. We measure aperture using f-stops (e.g., f/1.4, f/2.8, f/8, f/16).
Here is where beginners often get confused: a smaller number equals a larger opening. An f/1.4 setting means the aperture blades are wide open, flooding your sensor with light and creating a very shallow slice of focus. Conversely, an f/16 setting means the aperture is pinched down to a tiny pinhole, bringing nearly the entire scene into sharp focus.
For deeper technical documentation on how optical physics shape exposure, you can reference the Wikipedia Guide on Aperture.
Depth of Field (DoF) Explained
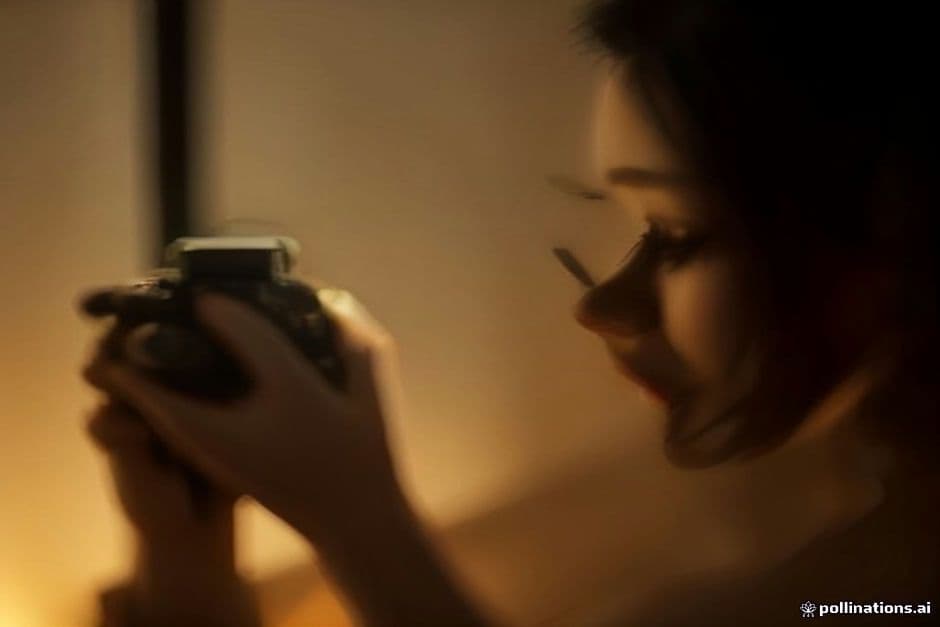
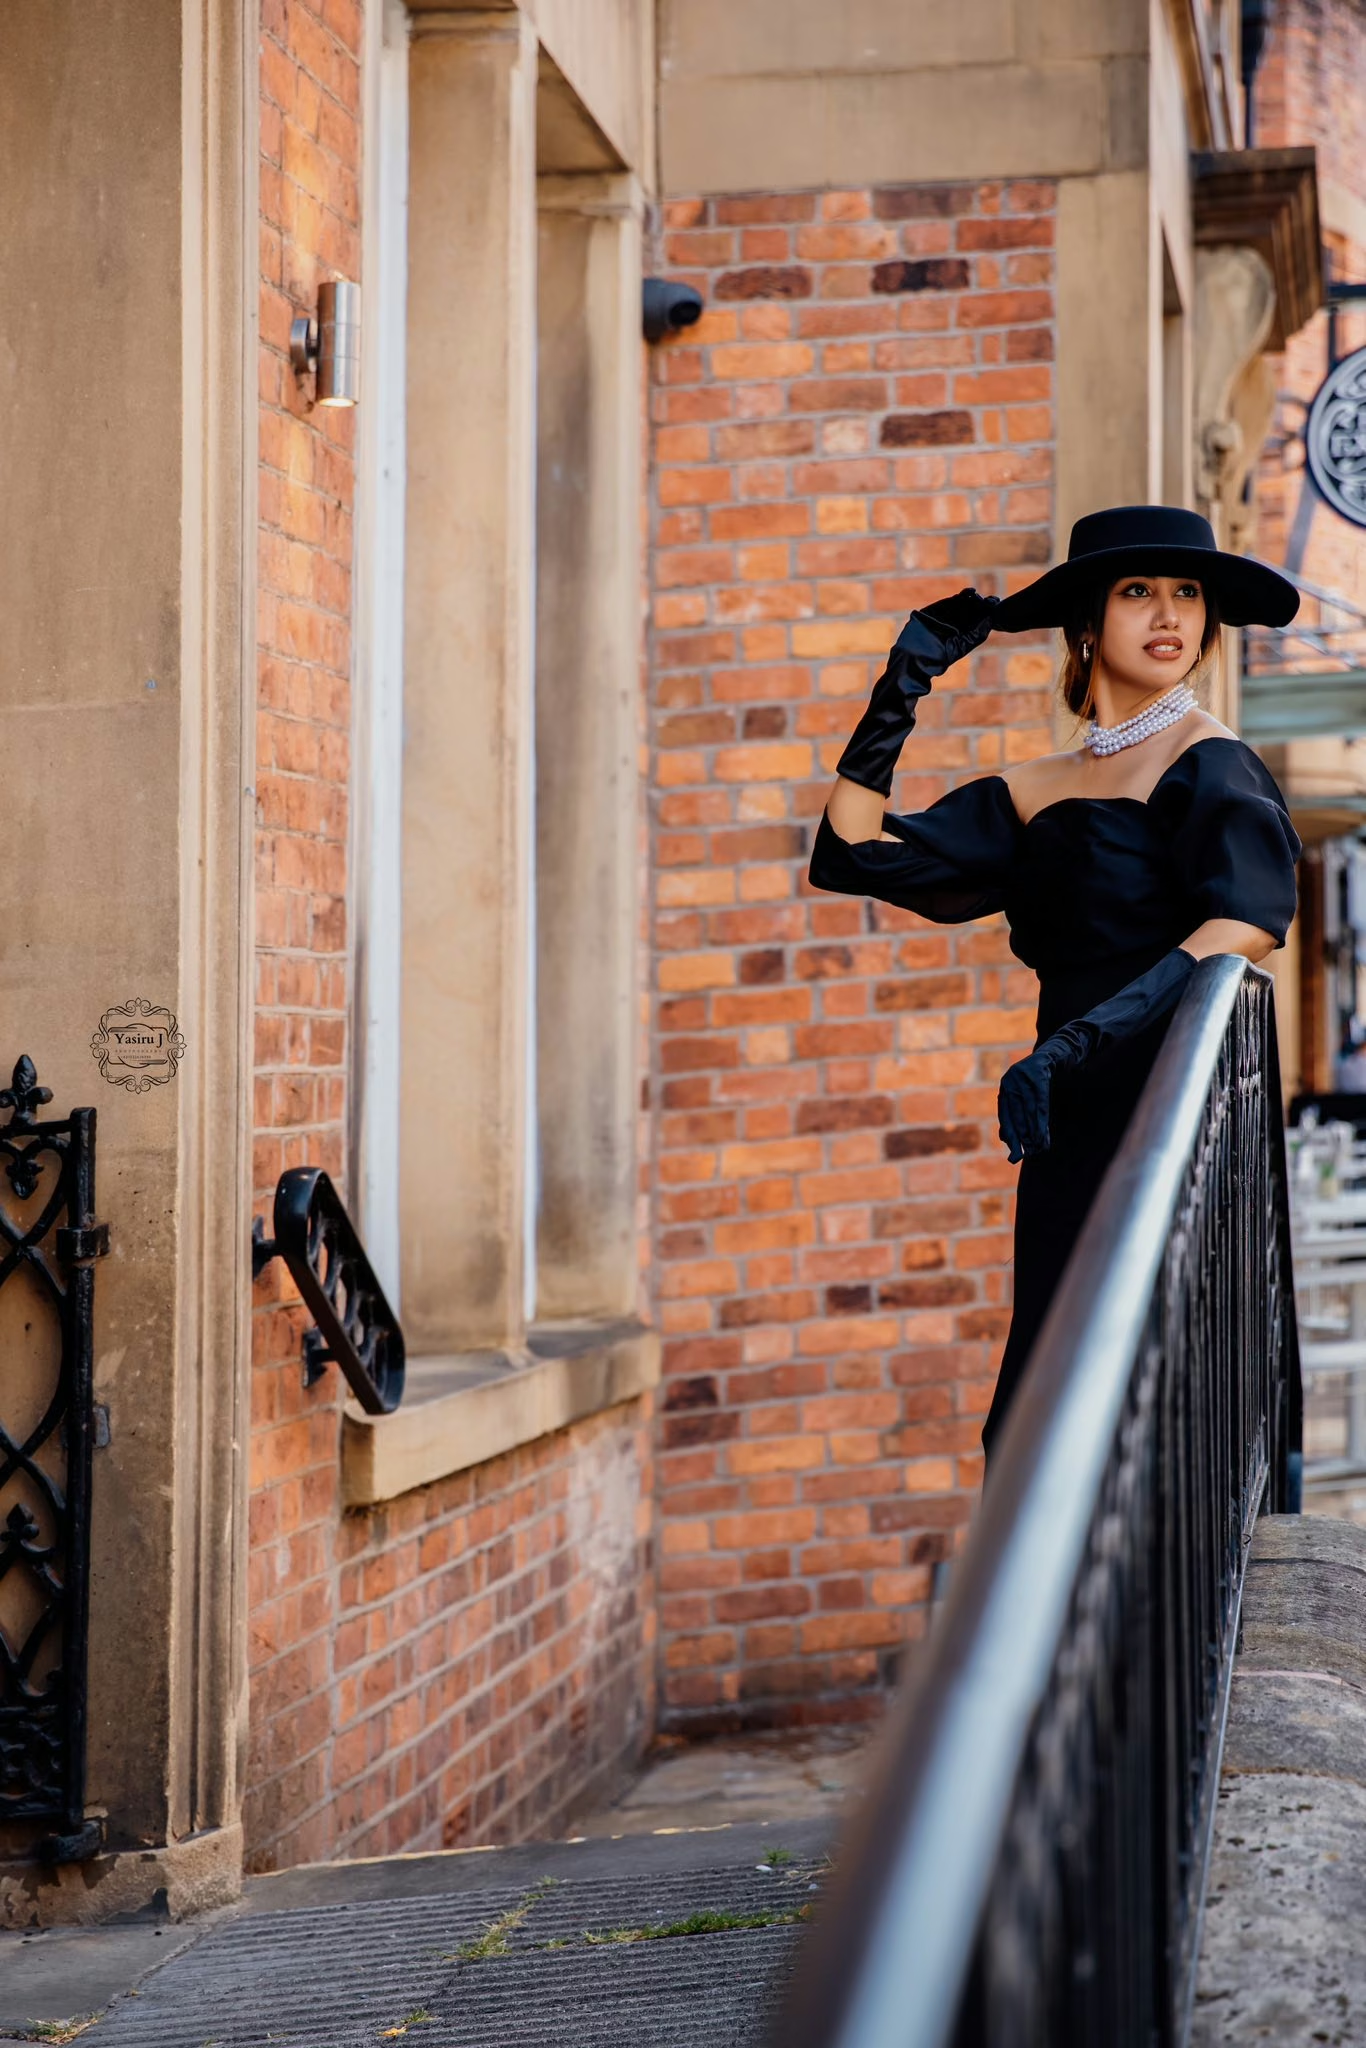
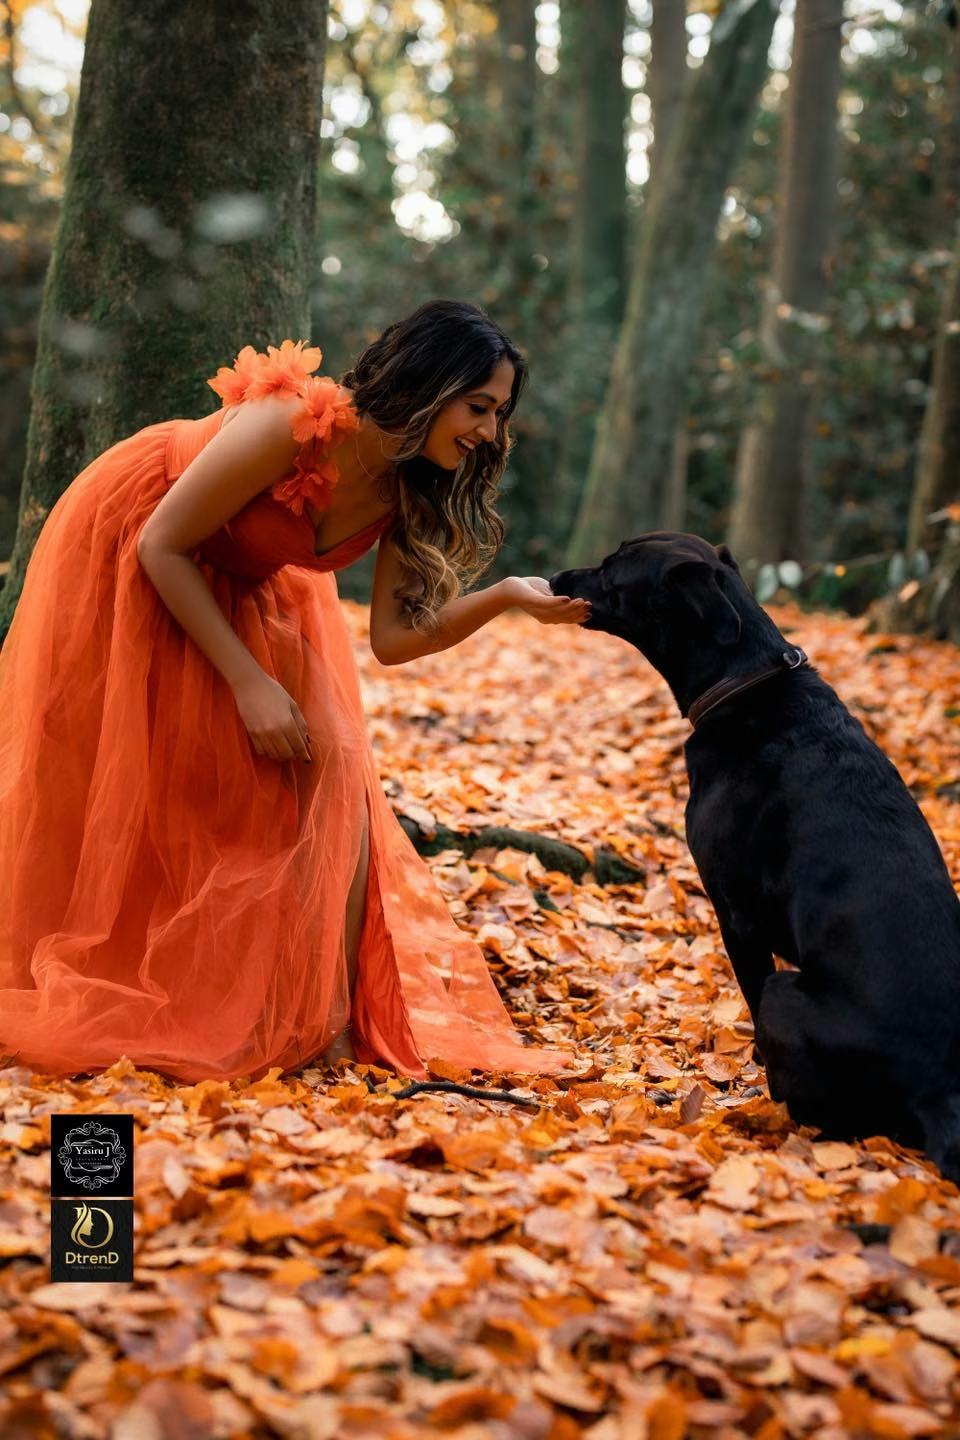
Depth of Field refers to the zone of acceptable sharpness within a photo—essentially, how much of the image from front to back is in focus. In portraiture, we typically strive for a shallow depth of field. This means your subject's eyes and eyelashes are razor-sharp, while the foreground and background dissolve into a dreamy, painterly haze.
To experiment with how changing your f-stop alters your focus plane without burning through storage space, try using the YOU Magazine Interactive Camera Simulator.
The Anatomy of Creamy Bokeh
Derived from the Japanese word boke (meaning "blur" or "haze"), bokeh refers to the aesthetic quality of the blur in out-of-focus areas of an image. "Creamy" bokeh is characterized by soft, rounded light orbs, smooth transitions, and a complete absence of harsh, distracting edges. It is heavily influenced by lens construction, specifically the number and rounded shape of the aperture blades inside the glass.
2. Step-by-Step Practical Techniques for Stunning Portraits
Translating theory into breathtaking visual art requires a deliberate, methodical approach during your photo shoots. Follow these steps to maximize your background blur:
Step 1: Switch to Aperture Priority (Av/A) or Manual Mode
Take direct control over your creative vision. Switch your camera dial to Aperture Priority mode, which allows you to manually select your desired f-stop while the camera calculates shutter speed. If lighting conditions are tricky, switch to Manual Mode to lock down your exposure.
Step 2: Dial in Your Widest F-Stop
If you are using prime lenses like a 50mm f/1.8, 85mm f/1.4, or 135mm f/2, open that aperture all the way up to its lowest possible number. This immediately maximizes light gathering and minimizes your depth of field.
Step 3: Manage Subject-to-Background Distance
Aperture is only part of the equation. To supercharge your bokeh, increase the physical distance between your model and the background. If your model is standing two inches away from a concrete wall, even an f/1.2 lens will render that wall in sharp detail. Push your subject several meters away from the background, and watch the distance melt away into pure creamy softness.
Step 4: Get Closer to Your Subject
Distance magnification plays a massive role in optics. The closer your camera lens is to your model, the shallower your depth of field becomes. Frame a tight headshot or bust portrait rather than a full-length shot to naturally enhance your background blur.
3. Common Mistakes to Avoid
- Chasing the Widest F-Stop Blindly: While f/1.2 or f/1.4 produces stunning bokeh, it also leaves an extremely razor-thin margin for error. If your model breathes or sways slightly, their eyes will fall out of focus. Sometimes, stopping down slightly to f/2 or f/2.8 yields sharper facial features while maintaining gorgeous background separation.
- Ignoring Background Lighting: Bokeh is created by points of light hitting your lens out of focus (such as sunlight filtering through leaves, city streetlights, or fairy lights). If your background is a flat, unlit grey wall, you won't get spectacular bokeh circles no matter how wide your aperture is.
- Failing to Calibrate Focus: When shooting at ultra-wide apertures, use single-point autofocus and place that point directly on the eye closest to the camera. Eye-Autofocus on modern mirrorless cameras is revolutionary for this.
4. Pro Tips for Fashion & Portrait Shoots
Elevate your portfolio to international editorial standards with these professional studio and location techniques:
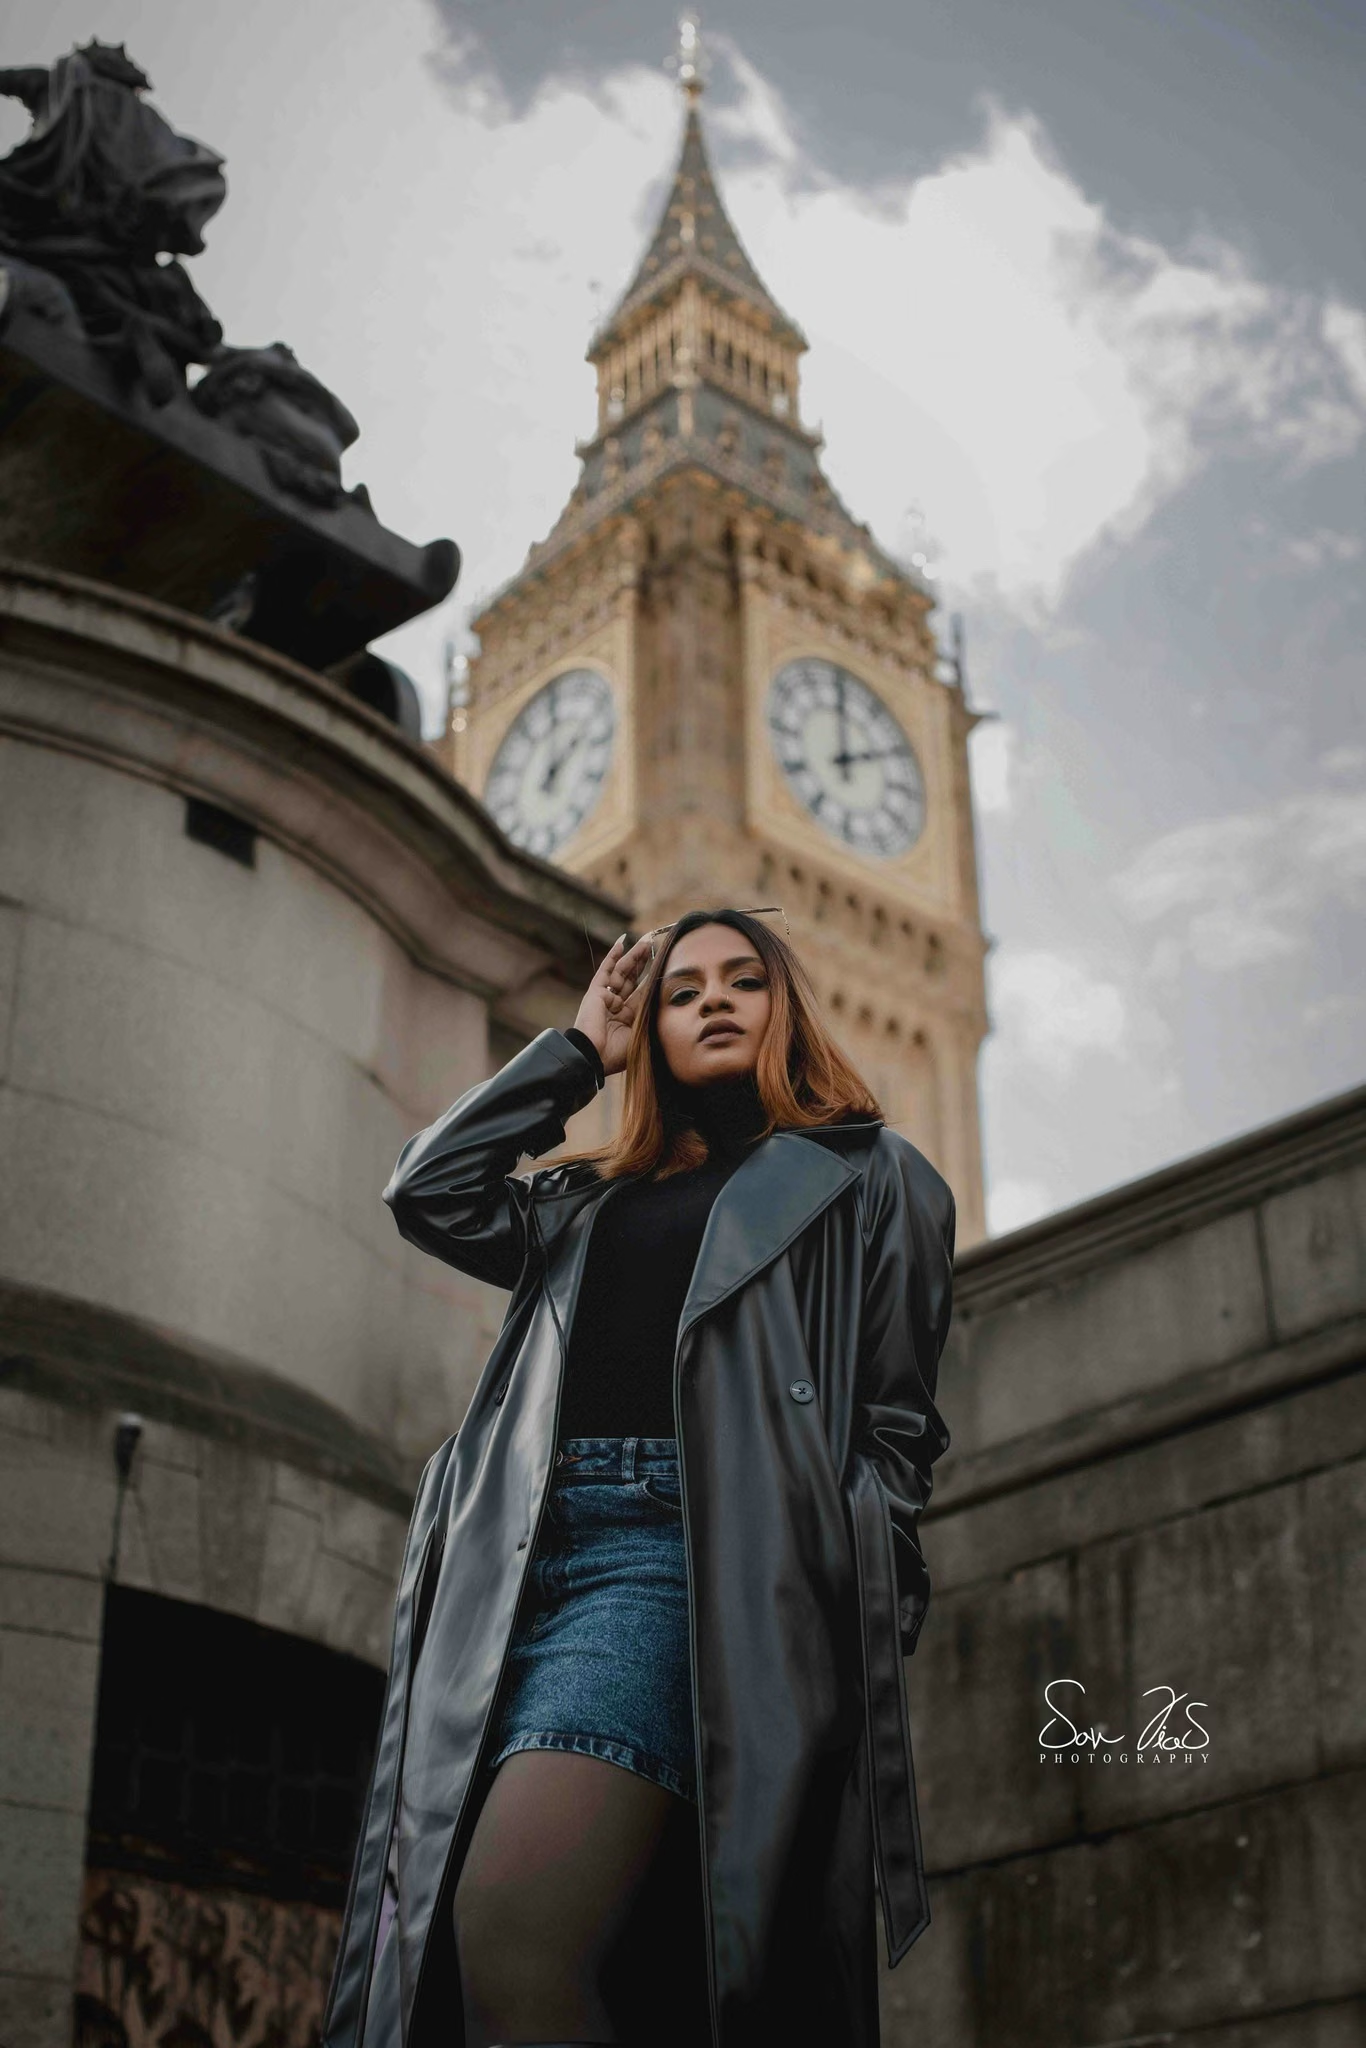
- Focal Length Matters: While a 50mm lens is versatile, telephoto focal lengths like 85mm, 105mm, or 135mm naturally compress perspective and exaggerate background blur, making them the gold standard for high-fashion portraiture.
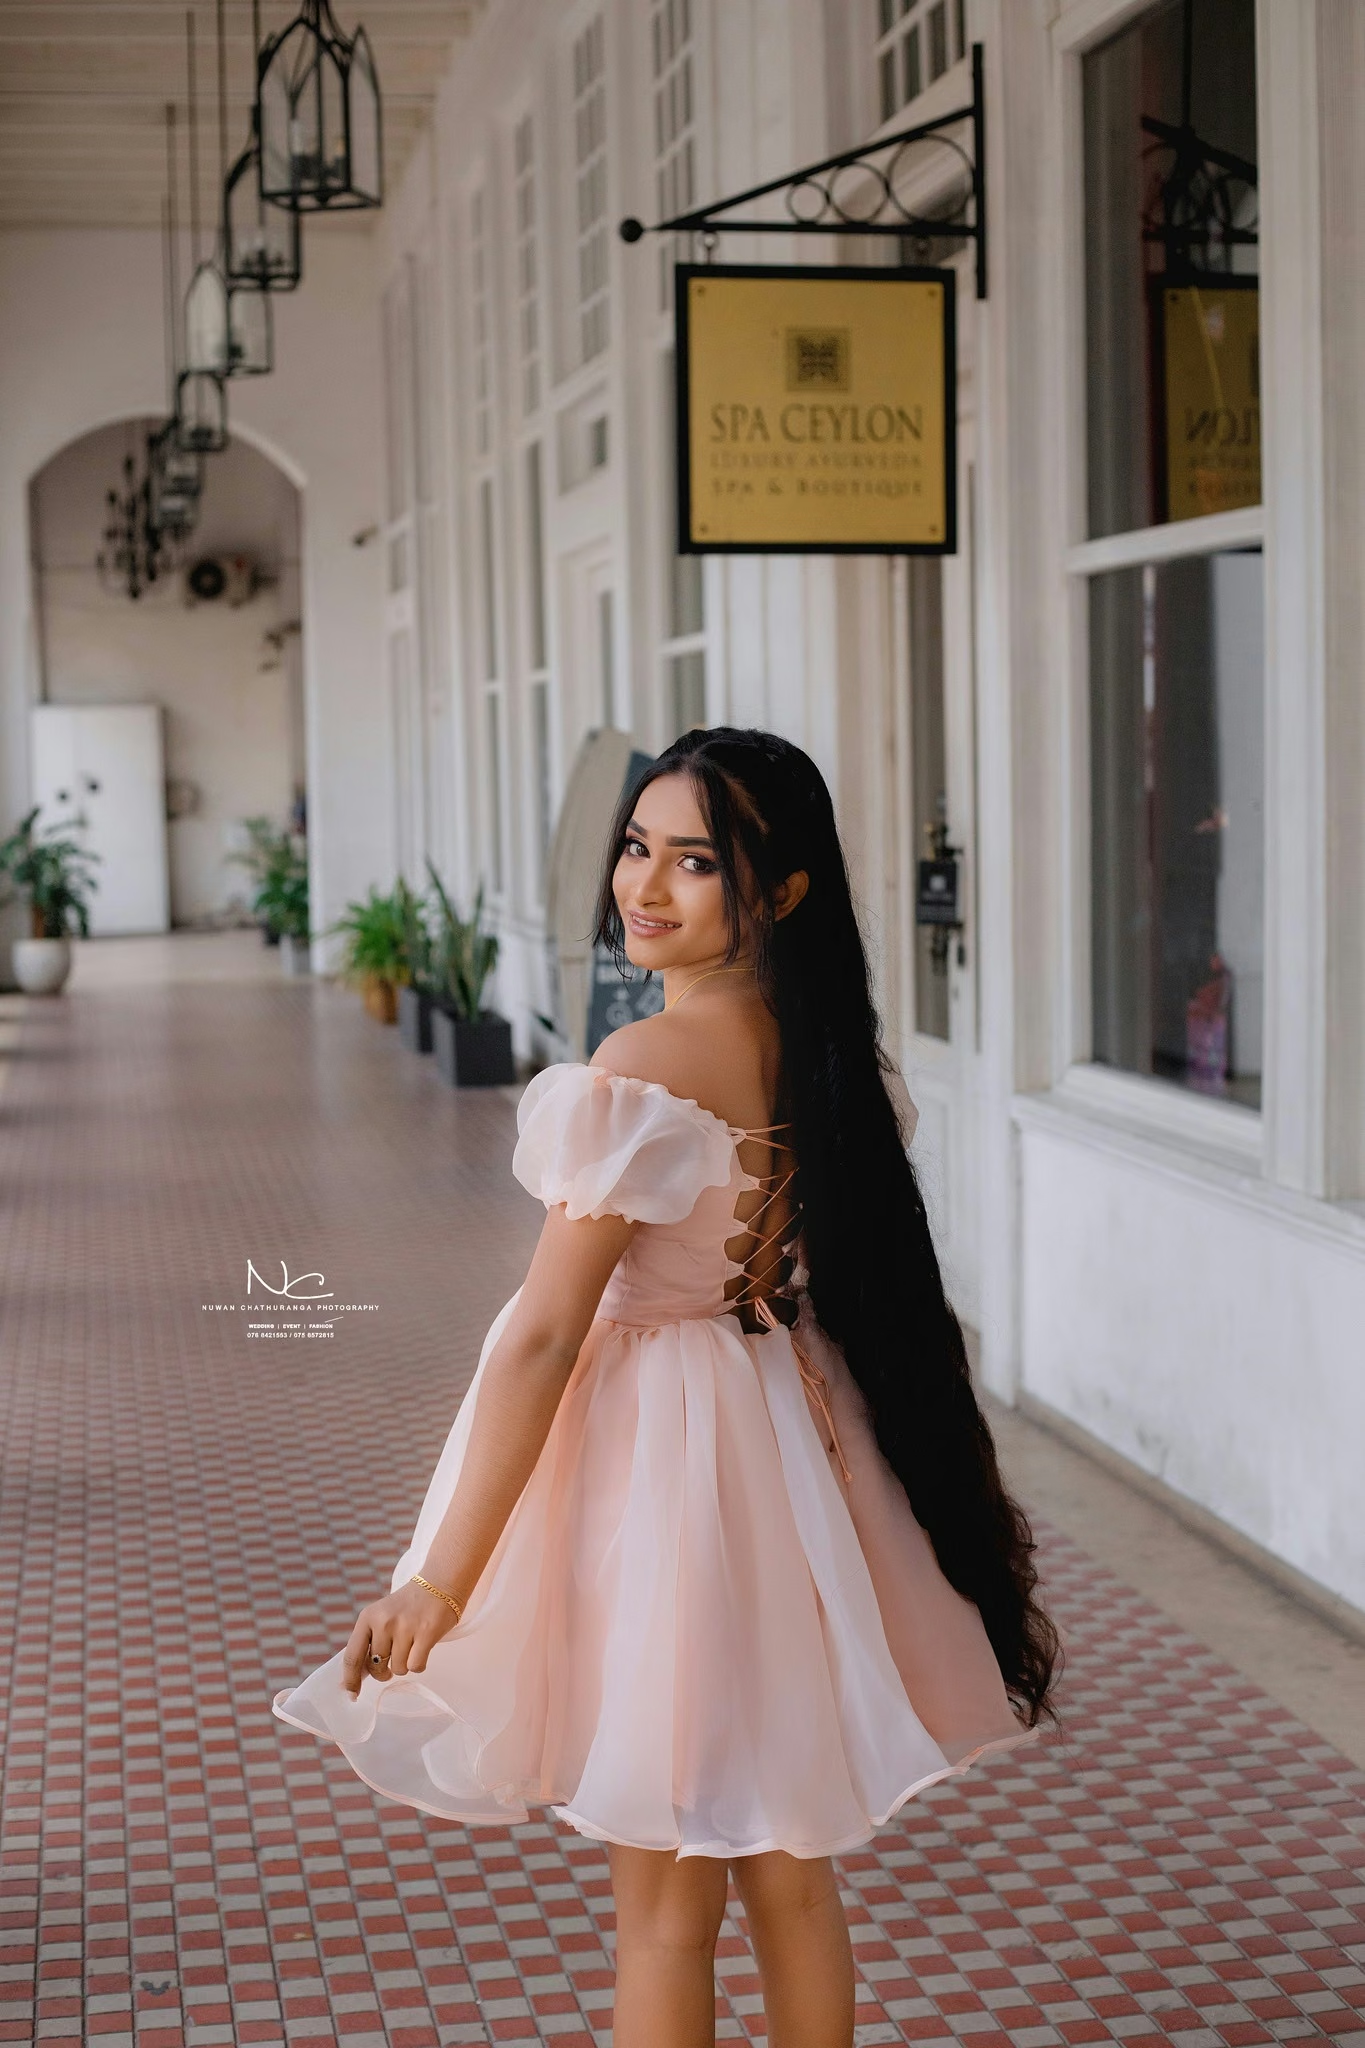
- Look for Natural Backlit Foliage: Position your model in the shade with direct sunlight striking the foliage or background behind them. The bright specular highlights filtering through leaves will transform into dazzling, circular bokeh bubbles.
- Study Editorial Masterpieces: Analyze how professional lighting and focal compression are utilized in our curated YOU Magazine Fashion & Model Portfolios and high-end Wedding Highlights & Editorial Features.
- Consult Industry Standards: For deeper technical deep-dives into lens design and optical performance, review the official guides provided by industry leaders like the Canon Camera Museum Lens Technology Guide.
Conclusion
Mastering aperture and depth of field transforms you from a casual shooter into a deliberate visual artist. By understanding how f-stops interact with distance, focal length, and ambient light, you hold the power to turn ordinary locations into cinematic canvases. Grab your camera, experiment with wide apertures, and start crafting portraits that stop viewers dead in their tracks.

Comments